
This week in CEP 811 I was asked to use my newly purchased Makey Makey and any inexpensive items I could find in my basement, at the neighbors, or at a thrift shop to create a prototype that could be used in my teaching. Right from the start, I pictured doing something with a cell model. I just didn’t know what. While the internet pulled up a ton of Makey Makey projects ranging from face-timing with cats to playing instruments to making timing devices, I could not find much additional inspiration dealing with biology. Therefore I decided to stick to my gut and create an interactive cell model. As soon as I got home from our family vacation, I searched my basement (and a few neighbors basements as well) and came up with a baby ball and some Play-Doh. Add a Makey Makey, PowerPoint and the Internet and it is time to play! Watch the video below to see my interactive cell model prototype. (If the embedded video does not display correctly, click here.)
- Makey Makey (with at least 7 alligator clips and 7 jumper wires – more is even better!)
- Computer with PowerPoint and the Internet
- A round object
- Various colors of Play-Doh
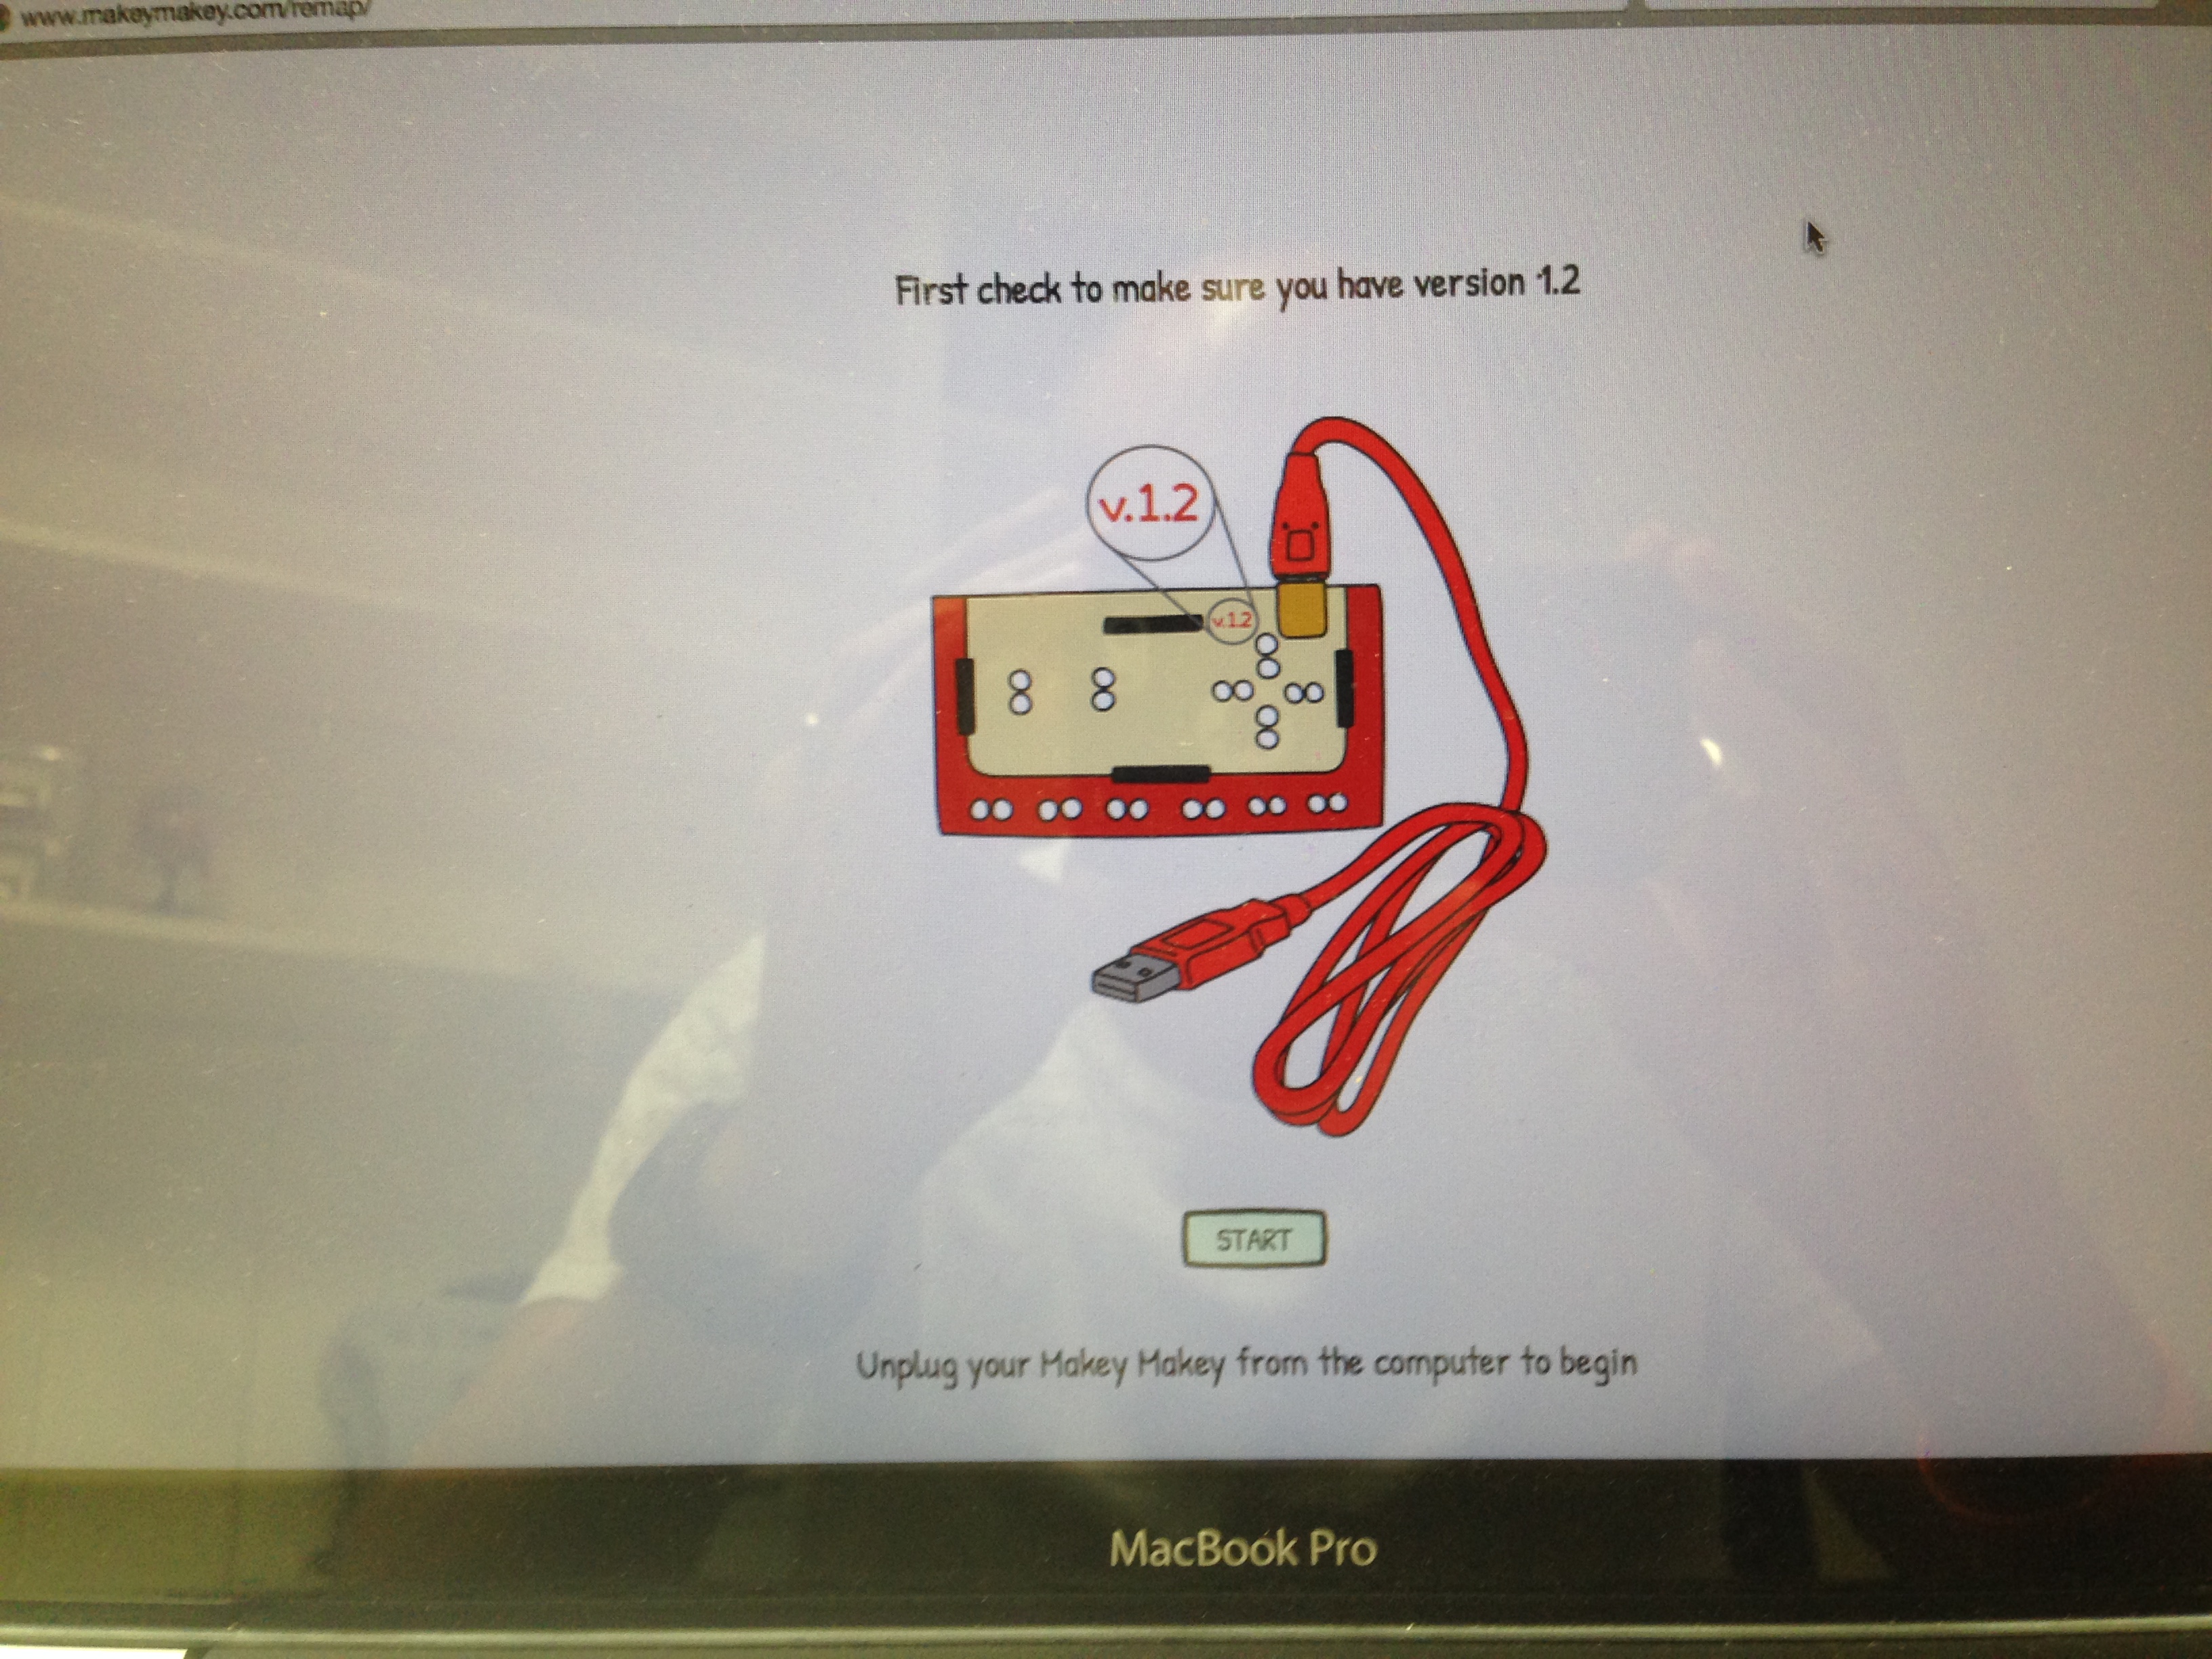
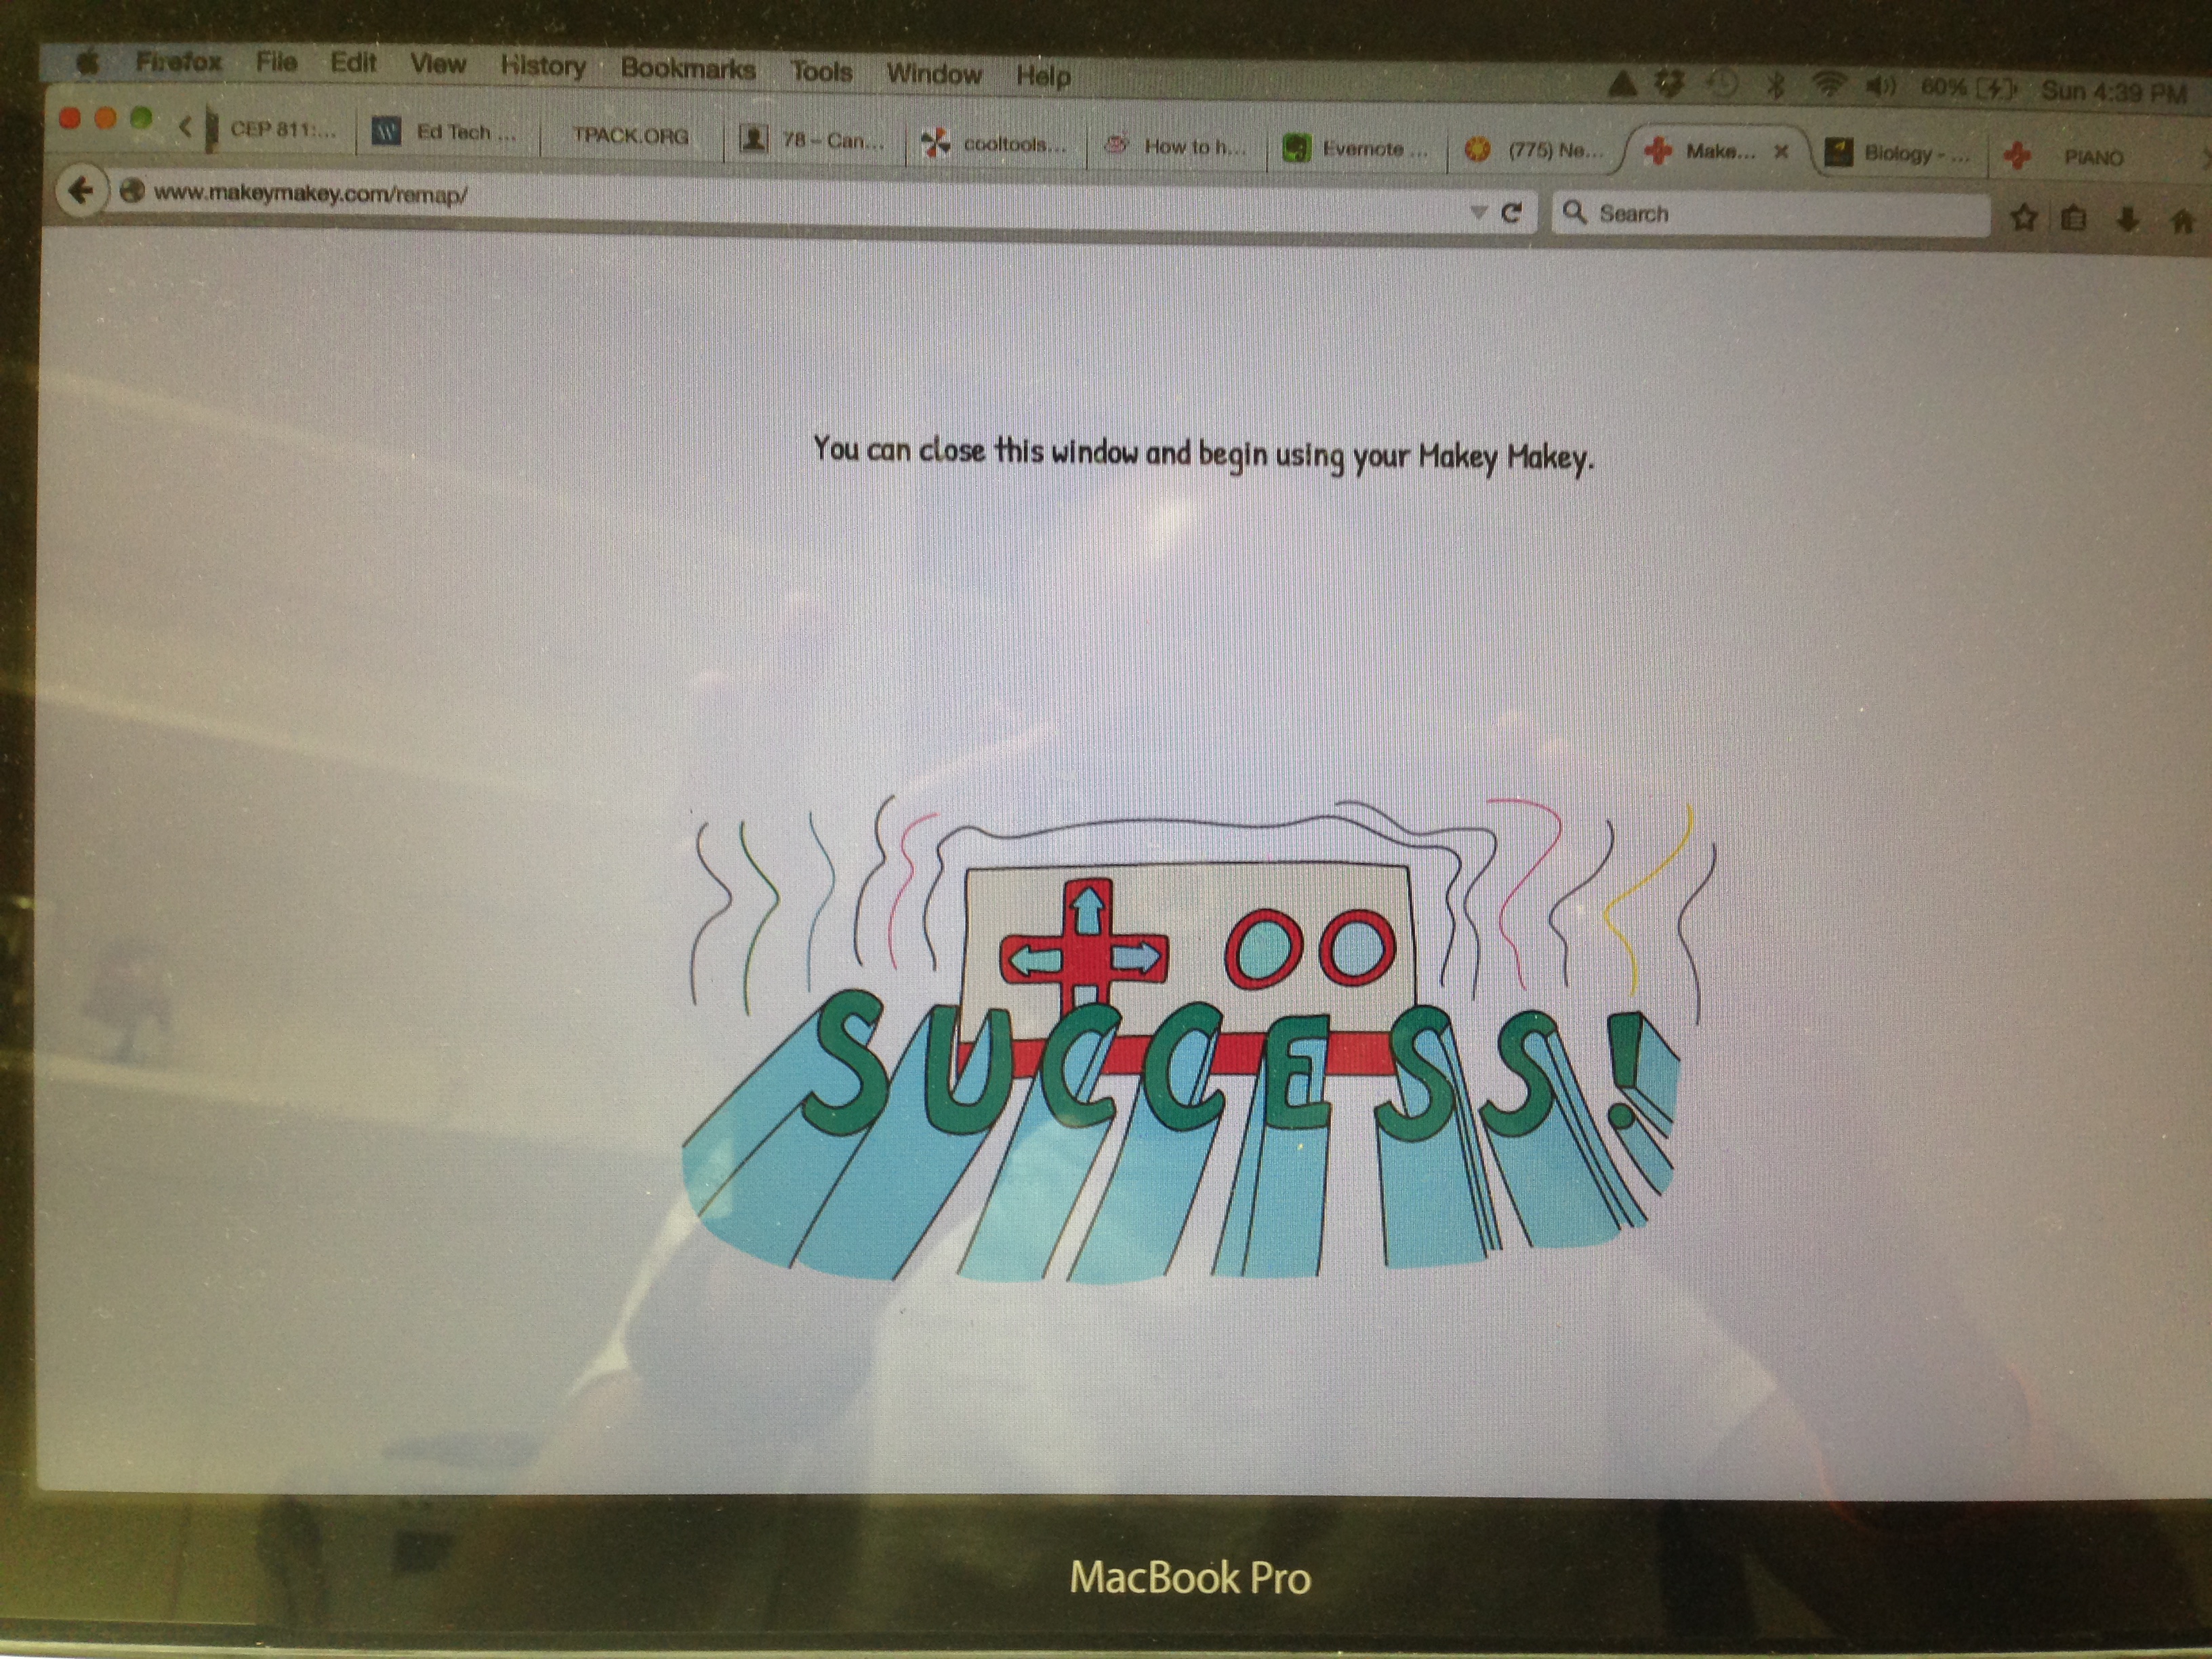
Step-by-Step Instructions: STEP 1: Due to the shortcut commands used by PowerPoint, you must remap the Makey Makey. To do this, go to http://www.makeymakey.com/remap/ and follow the on screen directions.
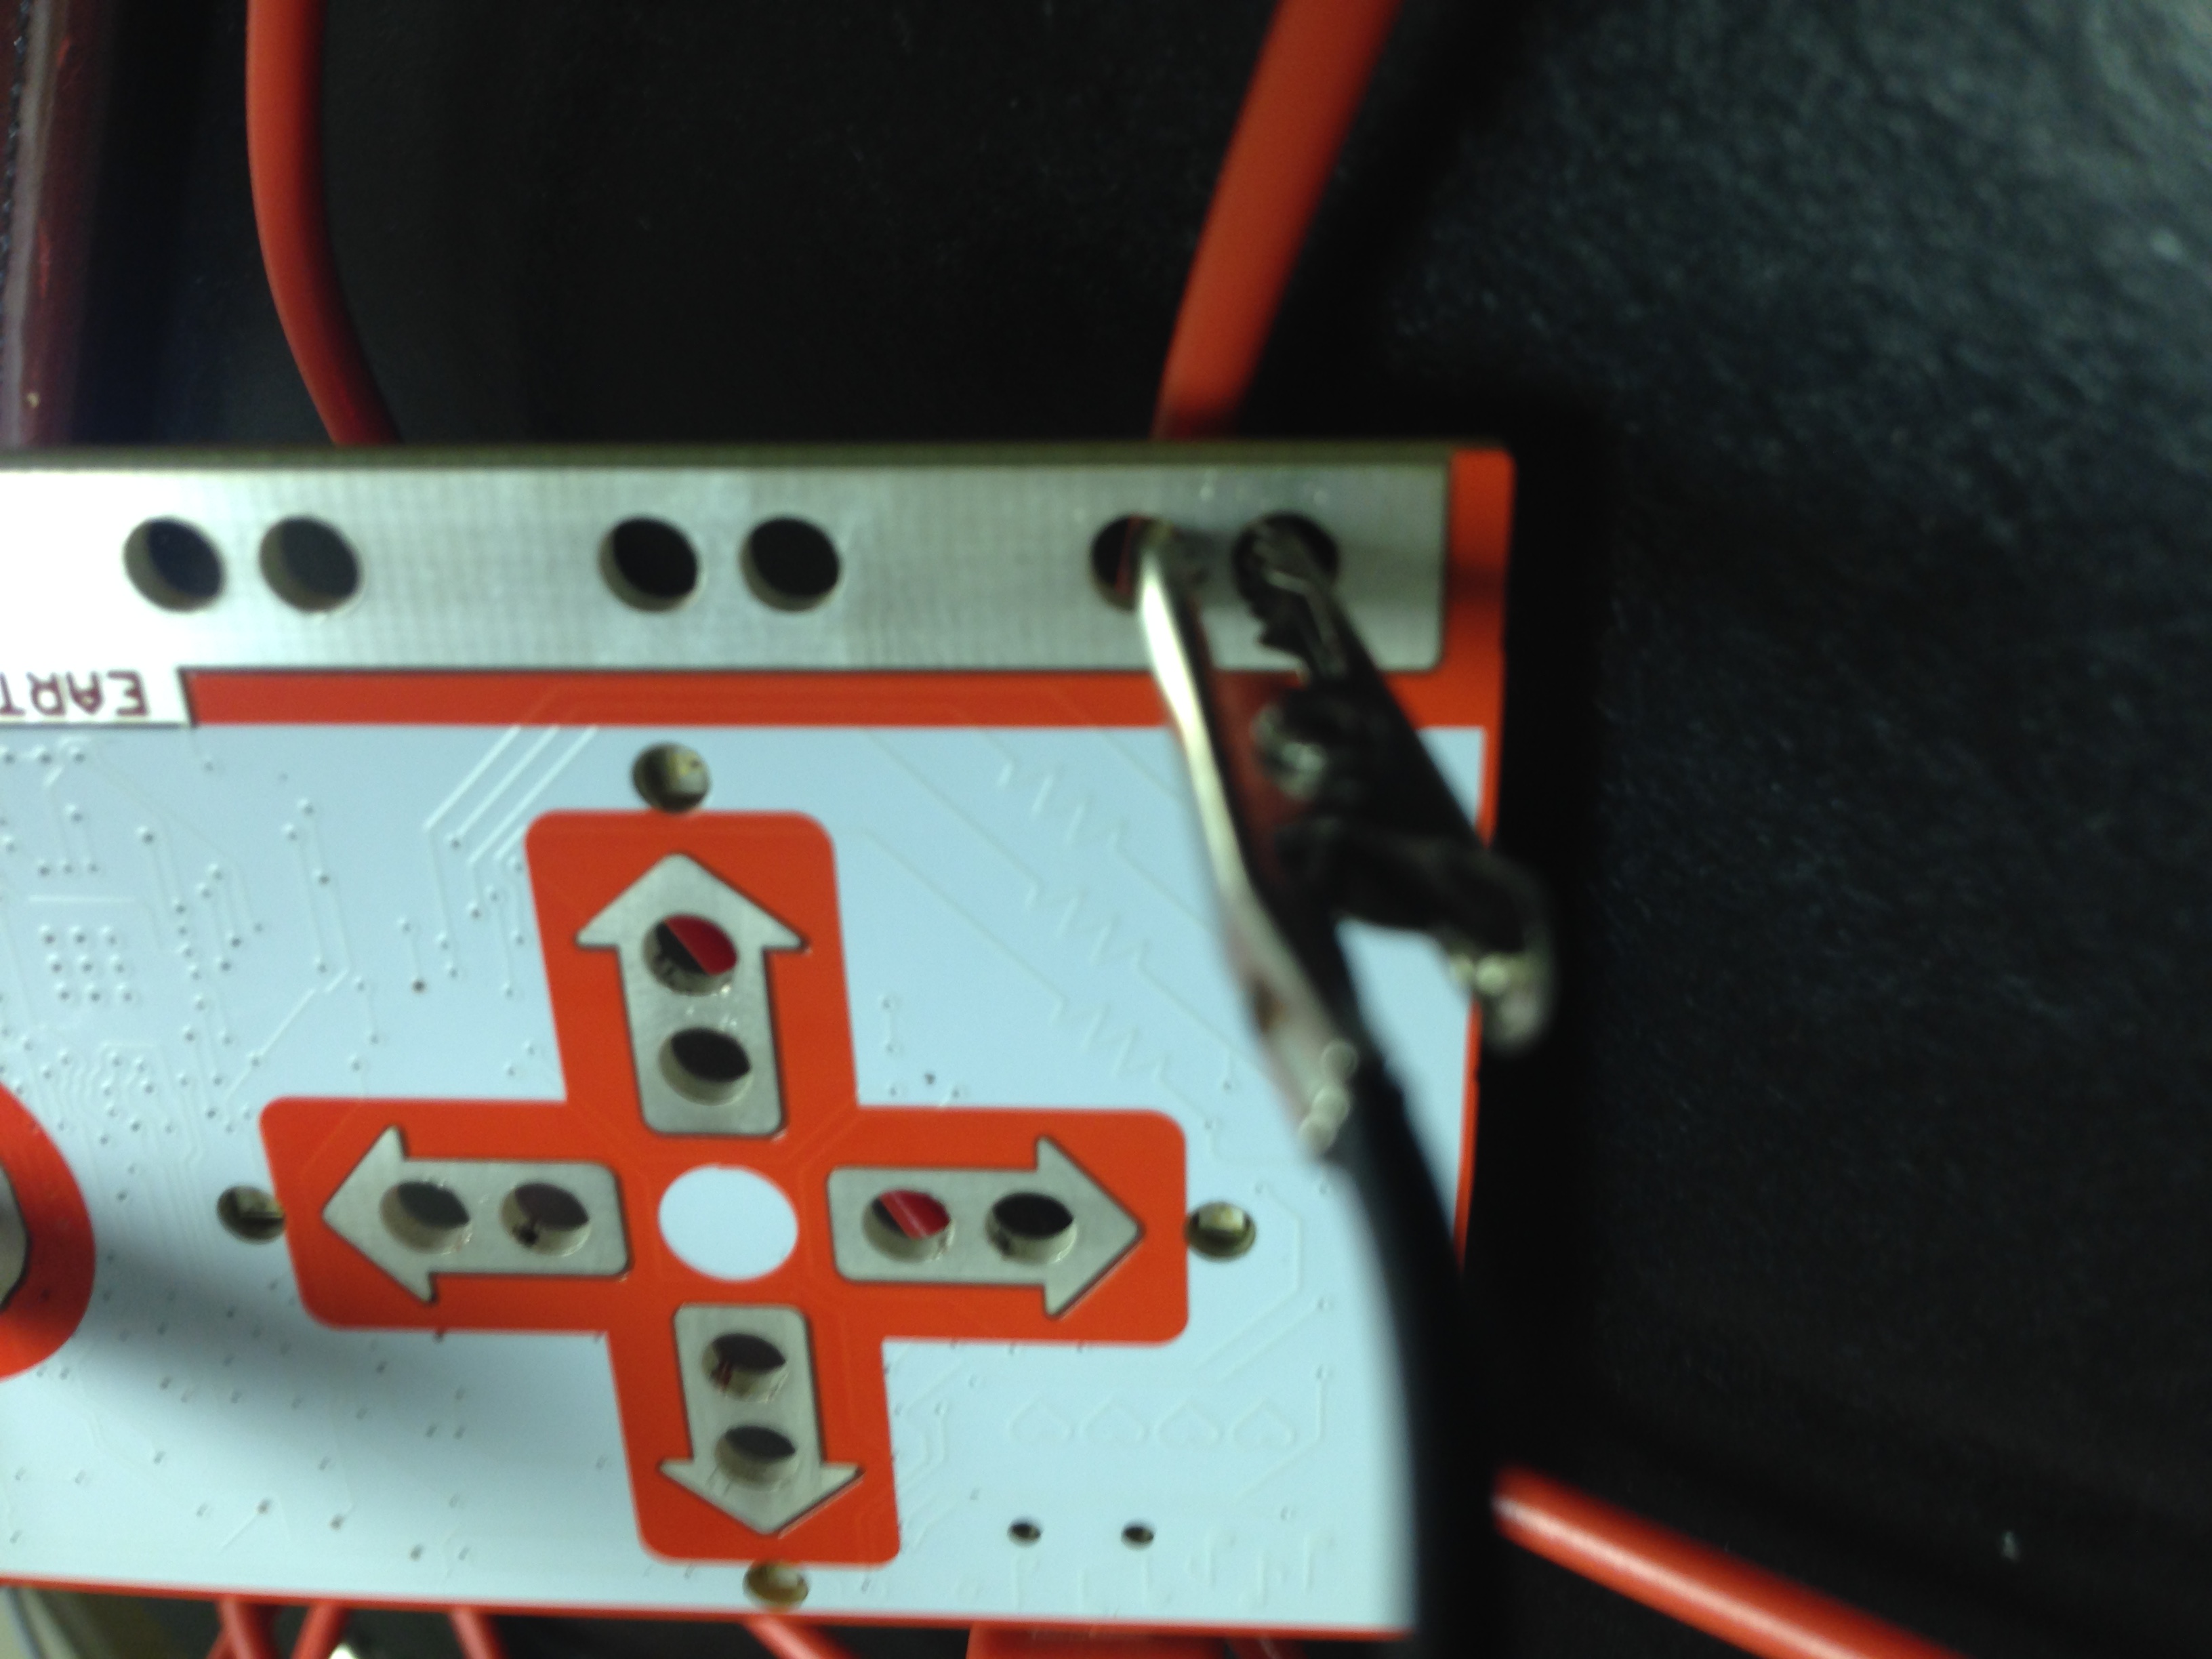
STEP 2: On the front of the Makey Makey, change the “Space” key to “Enter.”
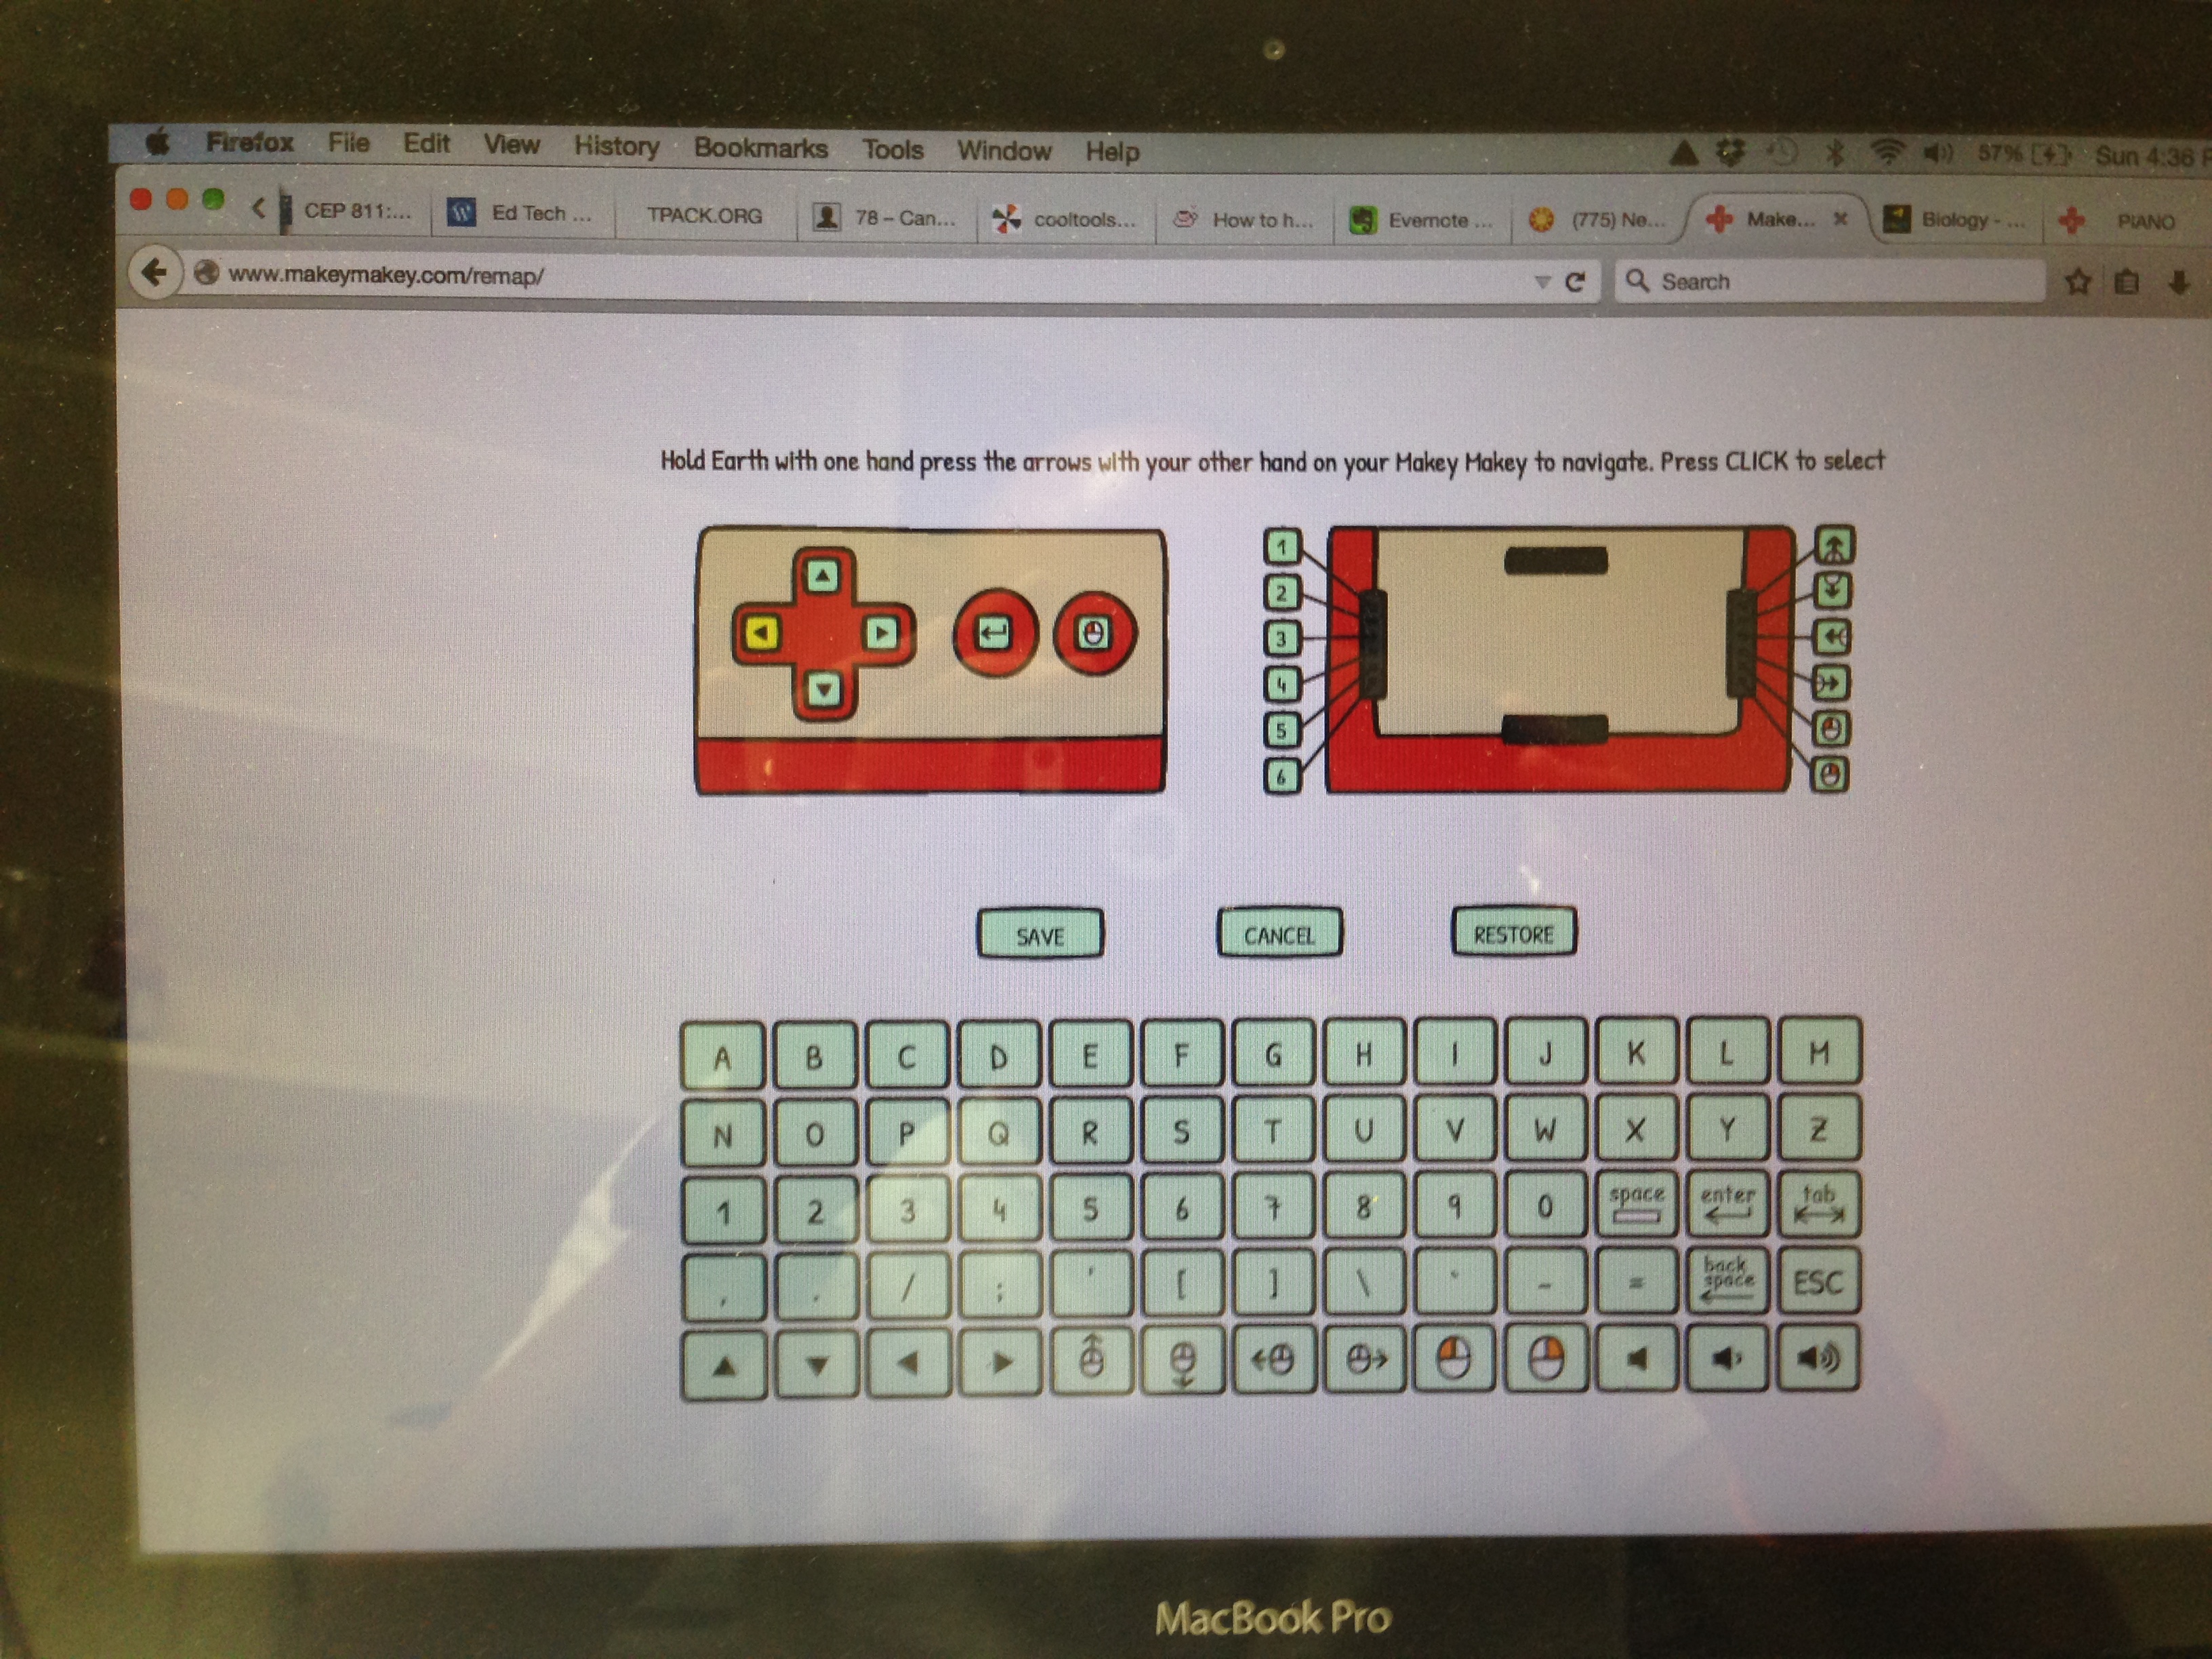
STEP 3: On the back of the Makey Makey, change the “W-G” column to “1-6”. If you have more than six organelles, you can number the column on the other side “7-12”.
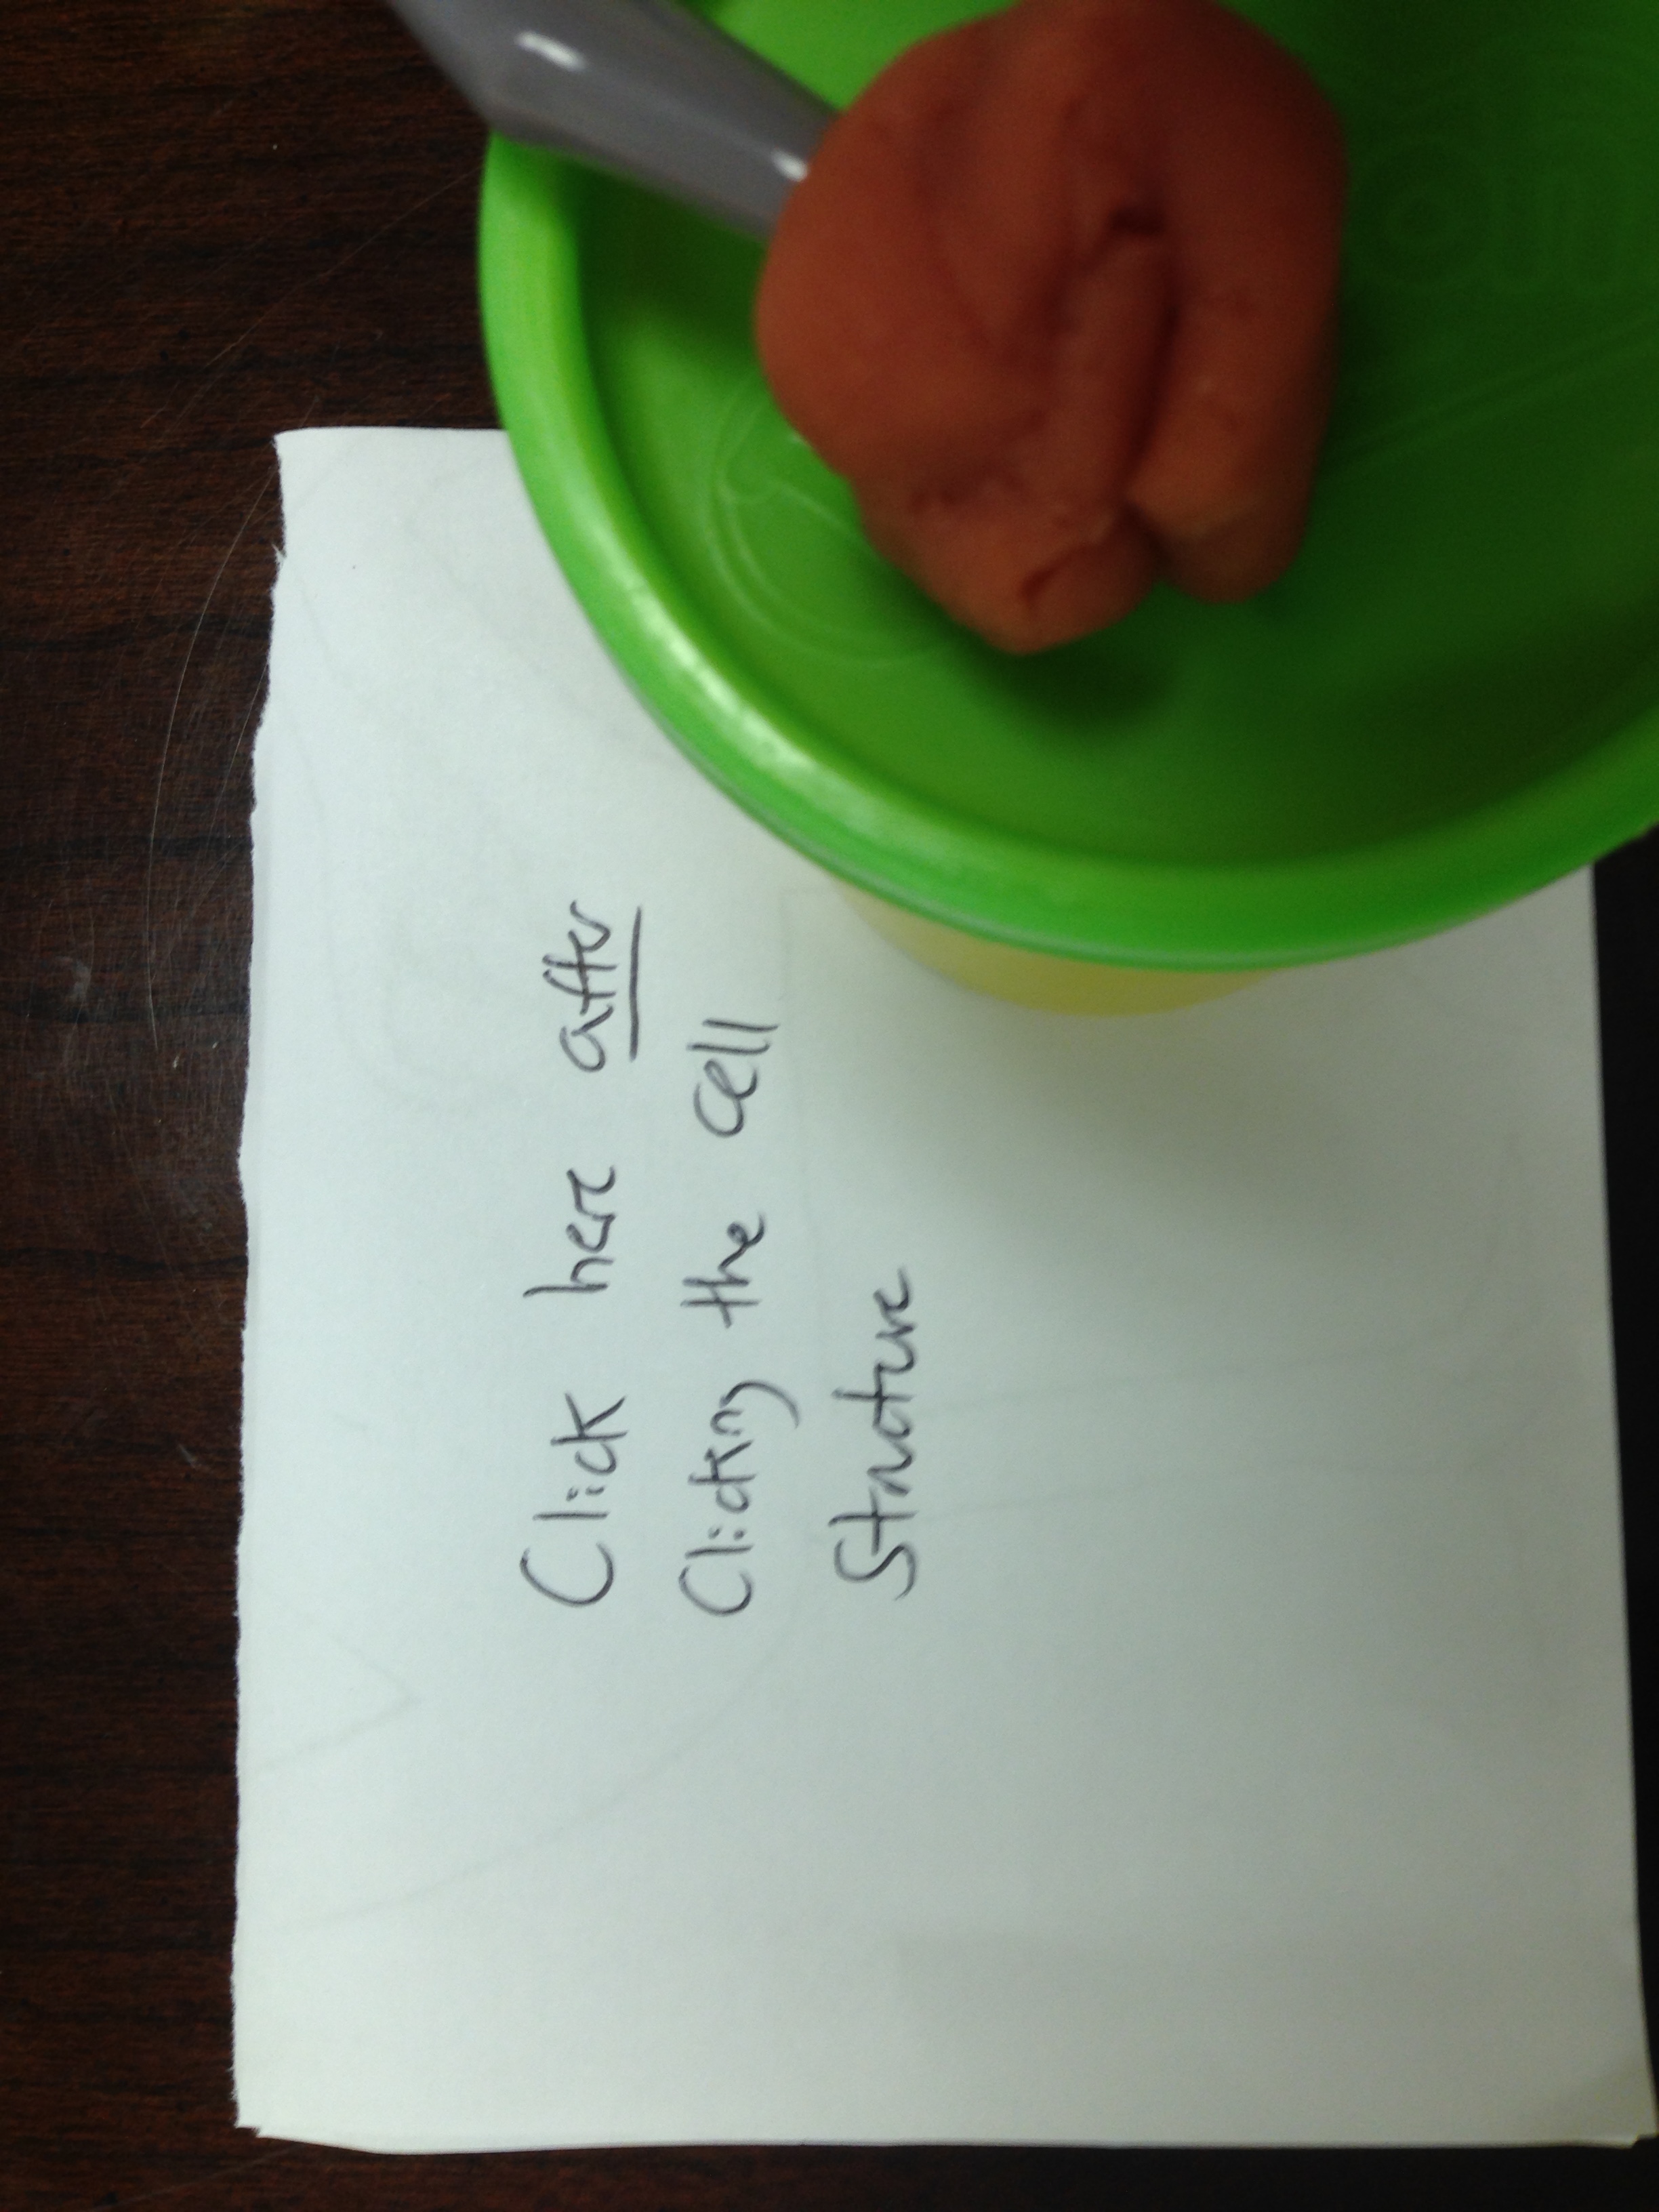
STEP 4: Open PowerPoint and create one slide for each organelle you want to present. Decide what information you want displayed (images, information, analogies, links, etc). I would suggest leaving slide 1 as an overall diagram of the cell.
- The slide number will correspond to the input number on the Makey Makey. (While in presentation mode, pressing the slide number followed by “Enter” or “Return” jumps to that slide.)
- Here is an example of a PowerPoint. Feel free to upload my Google Presentation into PowerPoint if you want to see (or use) it.
STEP 5: Use the Play-Doh to make each desired organelle. Place each organelle on the cell model.

STEP 6: Place the jumper wires into the Makey Makey inputs on the back that now represent the keys 1-6.

STEP 7: Add an alligator clip to each jumper wire.

STEP 8: Stick the alligator clip from the #2 input into the organelle represented on slide 2 on the PowerPoint. Repeat for organelles 3-6 (and beyond if they exist). 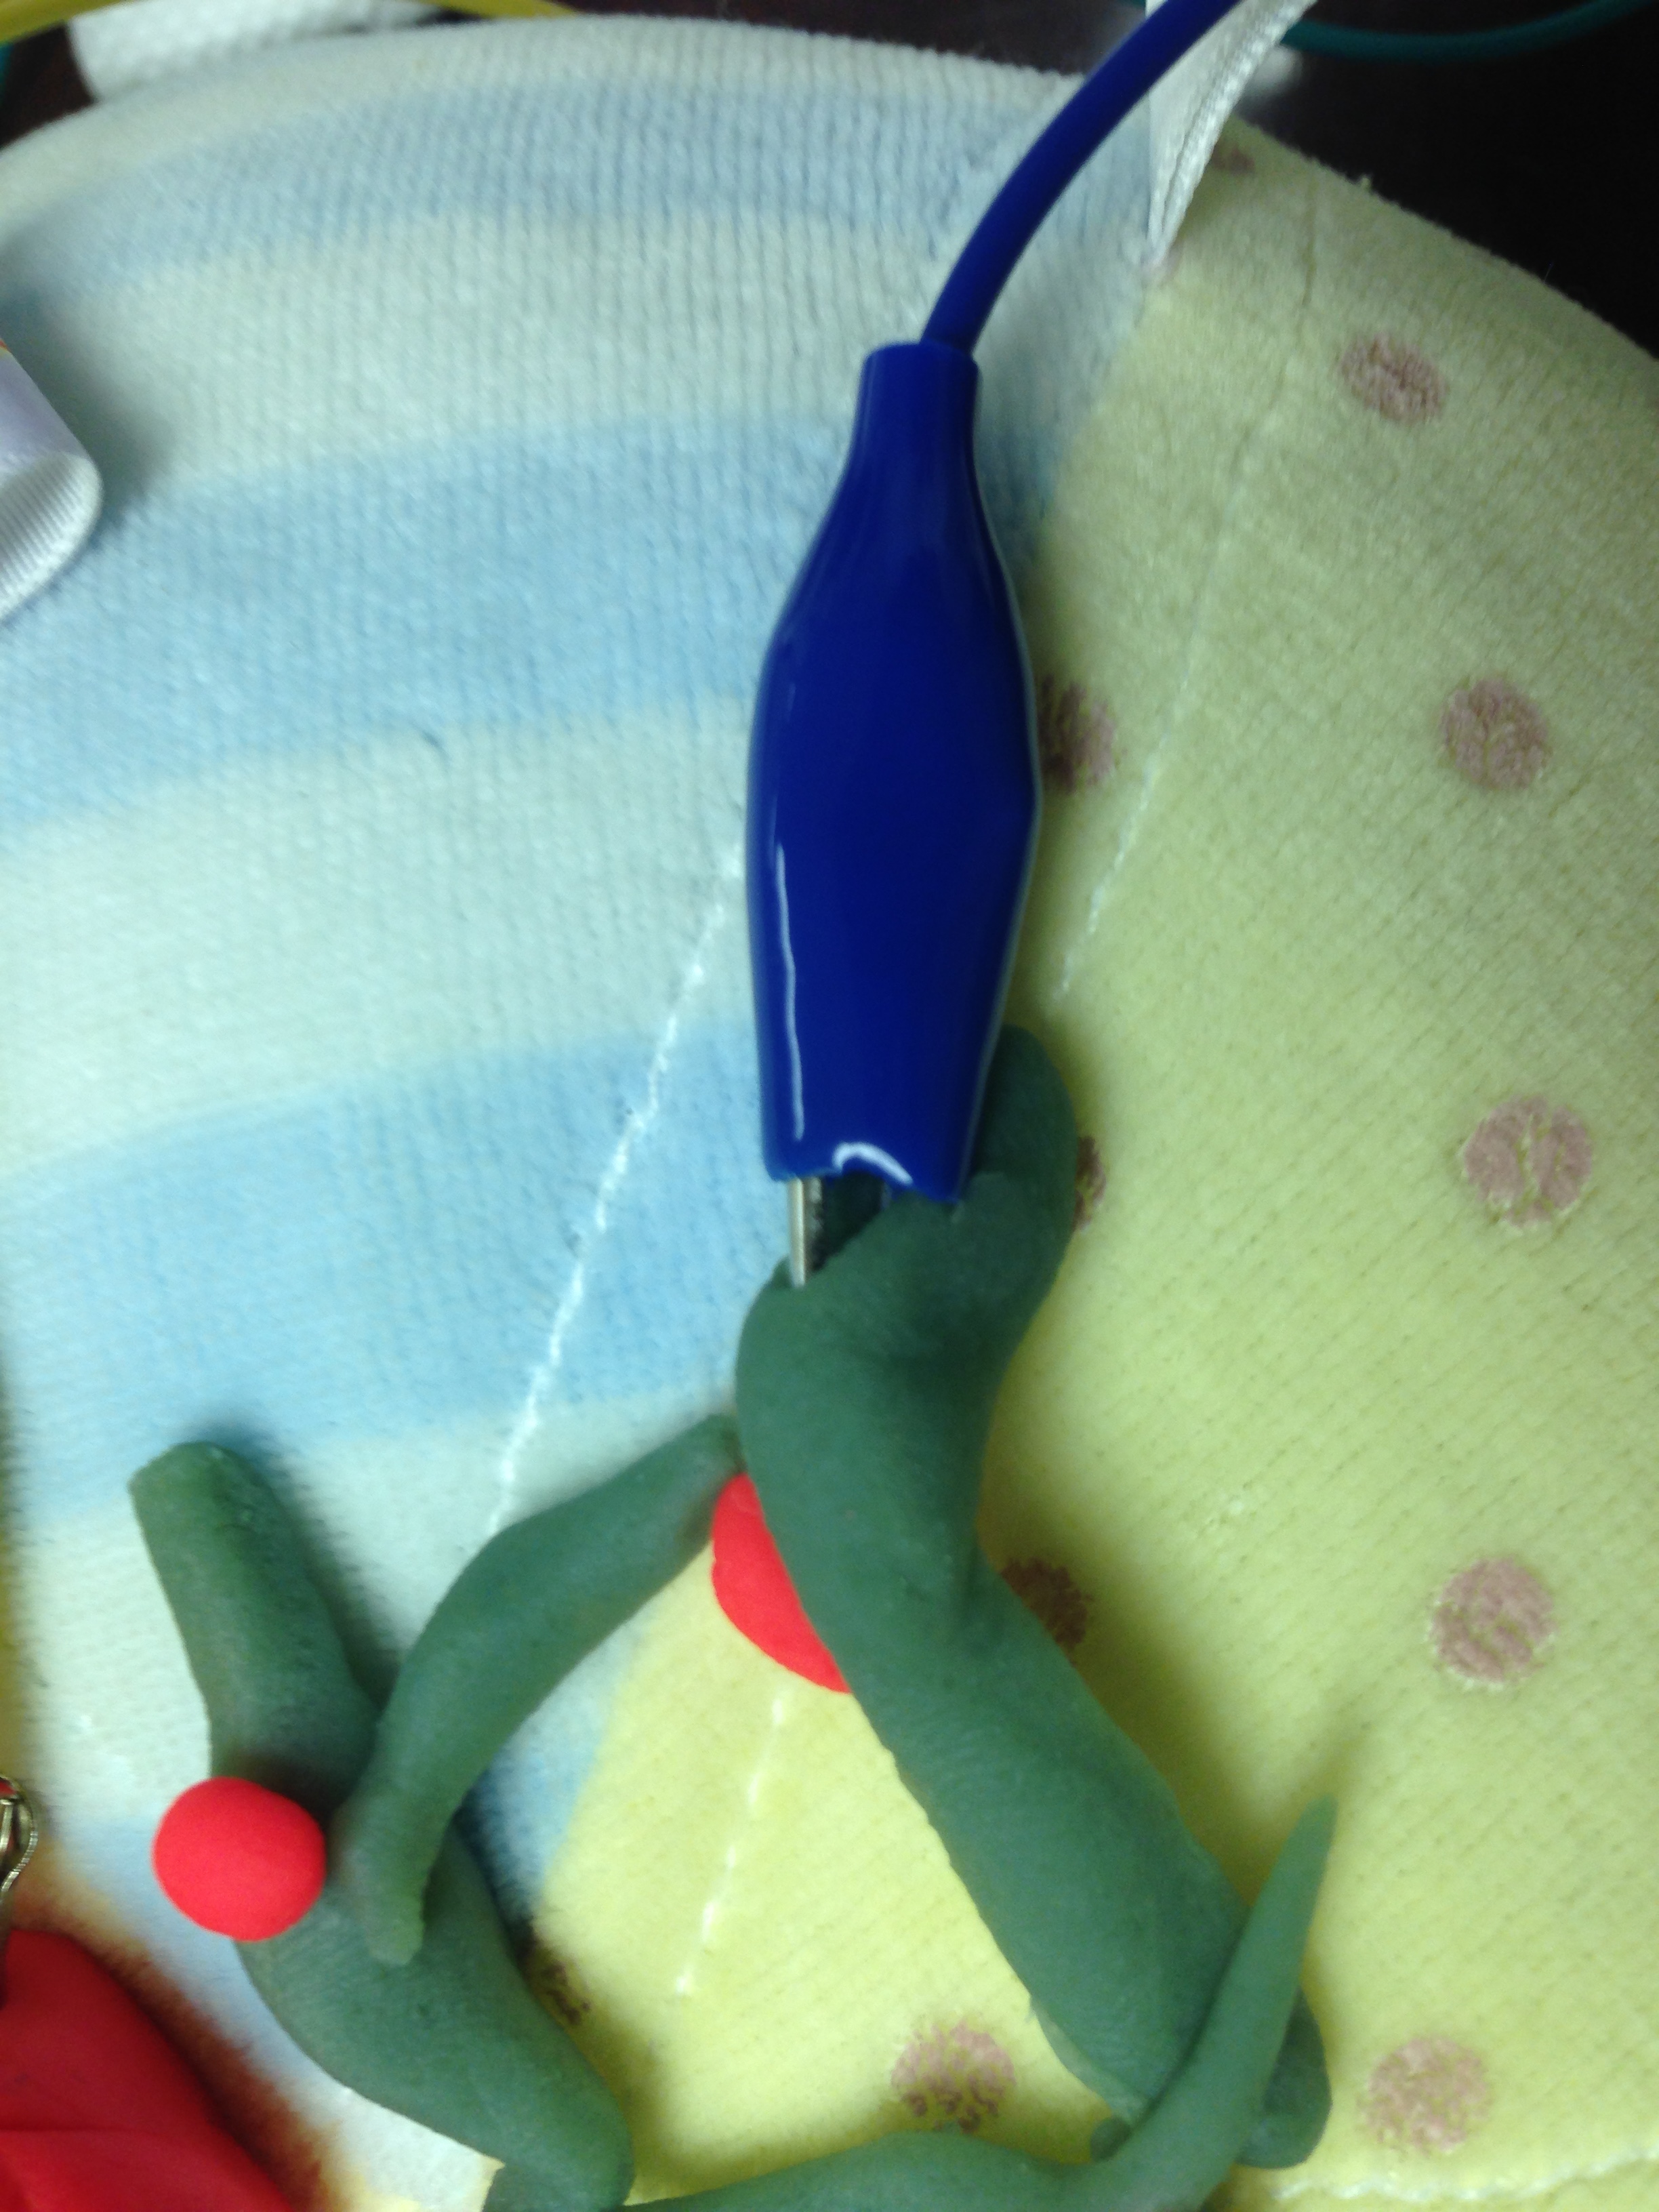 STEP 9: Make a round ball of Play-Doh (or whatever else you want) to represent the full cell image on slide 1. Connect this to the alligator clip in input #1.
STEP 10: Connect an alligator clip to the “Space” key on the front of the Makey Makey. (You reprogrammed this to be an Enter key.) Connect this alligator clip to a Play-Doh shape of your choice. You will touch this after touching an organelle.

STEP 11: Connect an alligator cable to “Earth”. You must be touching the other end for your model to work. I typically hook it under my watch so it continually contacts my skin.
STEP 12: Put PowerPoint in presentation mode and you are ready to begin! Just touch the organelle of your choice followed by touching your “Enter” Play-Doh.

How Can This Interactive Cell Model be Used in the Classroom? What I like most about this project is that there are a lot of different paths that can be taken. For example, rather than using a ball to create a 3D model, students could make an interactive poster. Play-Doh could be used either way or students could be encouraged to find other materials to construct the organelles. It could even be as simple as drawing the organelle and including a piece of aluminum foil to connect to the alligator cable. More importantly, what is displayed on the PowerPoint can be changed. The PowerPoint could focus on facts, images, analogies regarding the organelle’s function, links to website, etc. This also allows the project to be used in different grade levels and with different abilities as it can focus on different depths of structure and/or function. Benefits of Multimodal Elements: Multimodal elements allow students to read (text), see (images and videos) and hear (videos the information). Each mode helps to support and reinforce the material presented in the other modes. This is a powerful way to provide instruction as each student learns differently. It is also a major benefit of blogging. MORE FUN? In case you like chaos and loud noises, check out this video of my kids playing the Makey Piano.

One thought on “Thrifting with a Makey Makey”